
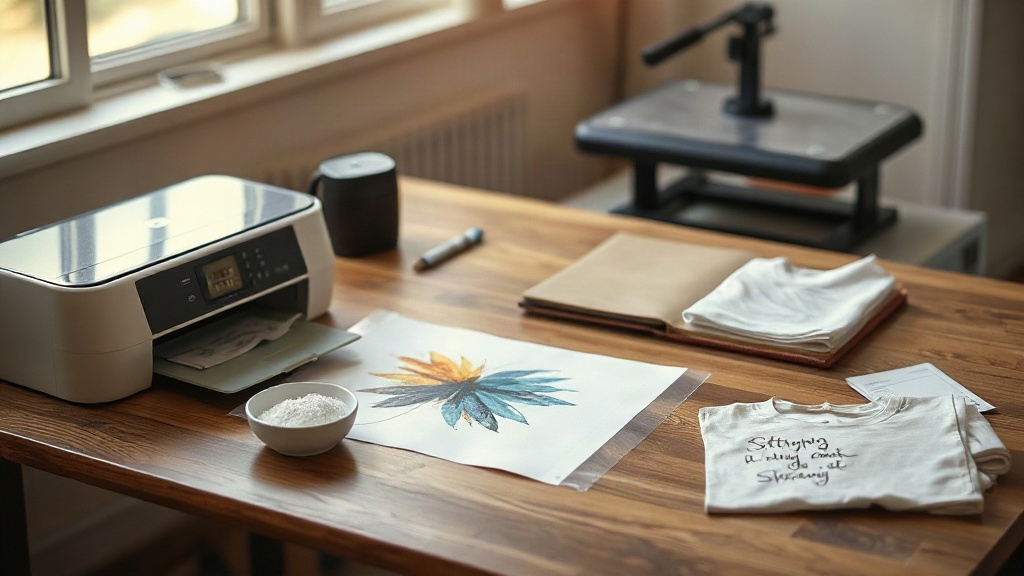
When I pressed my first DTF transfer onto a cotton tee, I peeled the film too early and watched half the design stay glued to the carrier sheet. That mistake cost me one blank shirt and taught me more than any spec sheet could. If you are just getting into DTF printing, this guide walks you through what the process actually involves, what gear you need, and the small habits that separate clean results from wasted film.
What DTF Printing Actually Is
DTF stands for direct to film. Instead of printing directly onto a garment, you print your artwork in reverse onto a special PET film, cover the wet ink with a hot melt adhesive powder, cure it, and then heat press the whole thing onto fabric. The powder becomes the glue that bonds the ink to the shirt.
The appeal is flexibility. Because the transfer sits on top of the fabric rather than soaking into it, you can apply DTF transfers to cotton, polyester, blends, canvas bags, and even some nylon jackets without changing your ink setup. That single advantage is why small shops and home printers have adopted it so quickly.
How It Differs From Vinyl and DTG
Heat transfer vinyl requires you to cut and weed each color separately, which gets tedious fast on detailed logos. Direct to garment printing skips the film entirely but usually needs a pretreat step on cotton and struggles with dark garments unless you lay down a white underbase. DTF sits in the middle: no weeding, no pretreat, and consistent color on both light and dark shirts.
The Core Equipment You Need
You do not need a full production room to start. Most beginners run a compact setup and upgrade once orders justify it.
- Printer: A converted inkjet using pigment inks and a white ink channel. Dedicated DTF printers handle this out of the box, while conversions require firmware and ink line changes.
- DTF film: Available in cold peel and hot peel versions. Cold peel is more forgiving for beginners because the transfer cools before you remove the carrier.
- Adhesive powder: Typically TPU-based, with fine and coarse grades. Fine powder gives smoother detail on small text.
- Curing oven or powder shaker: You need consistent heat to melt the powder evenly. A dedicated shaker with a built-in oven saves a lot of guesswork.
- Heat press: A swing-away press with accurate temperature and pressure control. A clamshell works, but even pressure across the platen matters more than the style.
Software and Color Management
You will need a RIP or printer-specific software to control white ink layering. The white layer sits behind your color layer and determines opacity on dark garments. Most RIP profiles let you adjust white density as a percentage. Start around 80 percent for dark shirts and lower it for light ones, otherwise the print feels thick and rubbery.
Color management is where beginners lose the most time. Your screen is backlit, your shirt is not. Print a small test strip with a few skin tones, a red, and a dark navy before committing to a large run. Keep that strip taped near your press as a reference.
Step by Step: Your First Transfer
- Mirror your artwork. Text must read correctly after transfer, so flip it horizontally in your software.
- Print onto the matte side of the film. Printing on the wrong side is a common first-week error and the ink will not adhere properly.
- Sprinkle adhesive powder over the wet print while it is still tacky, then shake off the excess. A thin, even coat is the goal, not a heavy blanket.
- Cure the powder until it turns glossy and slightly gel-like. Under-curing leaves powder that flakes off in the wash; over-curing makes the transfer brittle.
- Trim the film close to the design if you want a soft edge, or leave a border for easier handling.
- Pre-press the garment for a few seconds to remove moisture and wrinkles.
- Press the transfer at the temperature and time your film and powder specify, usually in the 300 to 320 degree Fahrenheit range for 10 to 15 seconds with medium to firm pressure.
- Let it cool completely for cold peel film, then peel the carrier sheet in one smooth motion.
If you are using hot peel film, remove the carrier while the press is still warm, but pull low and slow rather than yanking upward.
Common Problems and How to Fix Them
Ink Cracking After a Few Washes
Cracking almost always points to under-cured powder or too little pressure during the press. Increase your press pressure first, then extend the powder cure time slightly. Wash test one shirt before selling a batch.
Patchy White on Dark Shirts
This usually means your white ink density is too low or your print head has a partially clogged nozzle. Run a nozzle check, clean the head, and raise white density by 10 percent. Also check that you are not pressing at too low a temperature, which prevents the powder from fully bonding.
Film Sticking to the Design
If the carrier sheet will not release cleanly, the transfer is still too hot for cold peel film, or your powder layer is too thick. Wait longer and use a lighter powder coat next time.
Practical Tips That Save Money
Print in batches. Once your printer is warmed up and your settings are dialed in, running ten transfers takes barely longer than running one, and it reduces the number of cleaning cycles.
Store film flat and away from humidity. Damp film causes inconsistent powder adhesion, and you will not notice until you are mid-order.
Keep a logbook. Write down the temperature, time, pressure, and white density for every job that comes out well. When a customer reorders six months later, you will not be guessing.
Do not skip the wash test. Press one transfer onto an offcut of the same fabric, wash it three times inside out, and inspect it. This single habit prevents most refund requests.
Frequently Asked Questions
Can I use a regular inkjet printer for DTF printing?
Only if it has been converted with pigment inks and a white ink channel, and even then the maintenance demands are high. Standard home inkjets use dye inks that fade and cannot produce the opaque white layer DTF requires. A dedicated printer is the safer route if you plan to sell your work.
How long do DTF transfers last on a shirt?
With proper curing and pressing, most transfers hold up for dozens of wash cycles. Longevity depends on powder quality, press pressure, and how the shirt is washed. Turning garments inside out and avoiding high dryer heat extends the life considerably.
Do I need a special press for DTF film?
No, but you need one with reliable temperature and pressure control. A cheap press with uneven heating will give you inconsistent results no matter how good your printer is. If you are choosing between upgrading your printer or your press, upgrade the press first.
What is the difference between hot peel and cold peel DTF film?
Hot peel film lets you remove the carrier while the transfer is still warm, which speeds up production. Cold peel film requires the transfer to cool fully before peeling, which is more forgiving and tends to give cleaner edges for beginners and detailed artwork.
Can DTF transfers go on 100 percent polyester?
Yes, and this is one of the biggest advantages over DTG. Lower your press temperature slightly for polyester, since the fabric is heat sensitive, and test on a scrap piece first to avoid scorching or dye migration on darker colors.