
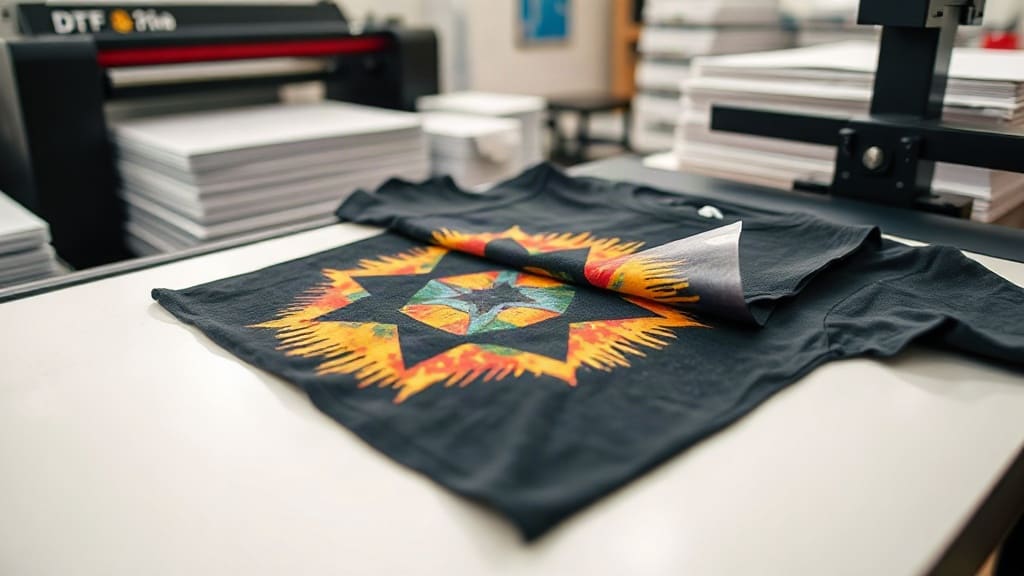
If you’ve been looking for a versatile and cost-effective way to print custom designs on garments, DTF transfers are likely already on your radar. Direct-to-film printing has revolutionized the custom apparel industry by offering vibrant, durable prints that work on a wide range of fabrics. Whether you’re a hobbyist looking to upgrade from vinyl or a business owner exploring new revenue streams, DTF transfers provide an accessible entry point with impressive results. In this comprehensive guide, I’ll share my hands-on experience and expert insights to help you master DTF transfers, from printing to application and scaling your business.
What Are DTF Transfers?
Direct-to-film (DTF) printing is a method where a design is printed onto a special PET film using a DTF printer, then powdered with adhesive, cured, and finally transferred onto fabric using a heat press. Unlike traditional screen printing, DTF requires no screens or setup, making it ideal for short runs and intricate designs. The result is a soft, stretchy print that adheres well to cotton, polyester, blends, and even nylon.
How DTF Transfers Work: The Step-by-Step Process
1. Designing Your Artwork
Start with a high-resolution PNG file with transparent background. DTF printers handle complex, colorful designs without extra cost, so don’t be afraid to use gradients and fine details. I recommend using a RIP software that comes with your printer to achieve accurate color reproduction.
2. Printing the Film
Load the PET film into the printer, ensuring the correct side faces up. The printer applies CMYK plus white ink, which is crucial for opacity on dark fabrics. After printing, allow the ink to dry briefly before applying adhesive powder.
3. Applying Adhesive Powder
Evenly coat the printed film with hot-melt adhesive powder, which acts as the glue between the design and the garment. Use a shaker or a powder applicator for consistent coverage. Tap off excess powder; it’s reusable, so collect it to save costs.
4. Curing and Pre-Pressing
Place the powdered film in an oven or a heat press (with a Teflon sheet) to melt the adhesive. Temperature around 300°F (150°C) for 2-3 minutes works well. This step solidifies the adhesive, making the transfer ready for application. If you’re using pre-made DTF transfers, skip this step.
5. Pressing the Transfer
Pre-press your garment to remove wrinkles and moisture. Position the transfer (film side up) on the garment, cover with a Teflon sheet or silicone paper, and press at 320°F (160°C) for 15-20 seconds with medium pressure. Then, peel the film while it’s still hot (hot peel) or wait a few seconds (cold peel), depending on your adhesive type. I prefer cold peel for sharper edges, but test both to see which you like.
DTF Transfers vs. Other Printing Methods
Understanding where DTF stands compared to alternatives like screen printing, vinyl, and sublimation helps you choose the right approach for your projects.
DTF vs. Screen Printing
Screen printing shines on bulk orders of 50+ pieces with simple designs. However, it involves costly setup and is impractical for one-off prints. DTF transfers have no setup cost, making them perfect for single items or small batches. They also handle full-color designs without extra screens.
DTF vs. Vinyl
Heat transfer vinyl is limited to solid colors and requires weeding, which is tedious for intricate designs. DTF allows photorealistic prints with no weeding, saving you hours of labor. Vinyl also tends to crack after several washes, while DTF prints remain flexible and durable.
DTF vs. Sublimation
Sublimation only works on polyester or light-colored fabrics and requires a white base for dark garments. DTF offers versatility across all fabric types and colors, including cotton, which is a major advantage if you want to print on basic tees.
Top Tips for Perfect DTF Transfers
After countless test prints, here are my pro tips to achieve flawless results:
- Use high-quality PET films: Cheap films can curl or cause uneven adhesive distribution. Invest in reputable brands like DTF Superstore or Printify.
- Control humidity: Moisture can cause powder to clump and affect adhesion. Keep your work area dry and store films in a cool, dry place.
- Optimize your press settings: Temperature, time, and pressure vary with different garments. Always do a test print on a scrap fabric before the final press.
- Handle the film carefully: Fingerprints can leave oils that block adhesion. Wear cotton gloves when handling printed films.
- Peel at the right moment: For cold peel, wait until the transfer is slightly warm to the touch. This prevents peeling off the adhesive.
- Clean your printer regularly: DTF printers need routine maintenance to avoid nozzle clogs and ensure consistent white ink flow.
Costs and ROI: Is DTF Worth It?
The initial investment for a DTF printer can range from $2,000 to $10,000, depending on the model. But the per-print cost is low: about $0.50 to $1.00 for a standard size transfer, including film, powder, and ink. When you compare that to the price of custom transfers sold online, you can see the profit potential. For example, a 10x12 transfer costs around $3-$5 in supplies, but you can sell it for $10-$15 or more, especially for intricate designs.
If you’re just starting and don’t want to buy equipment, consider purchasing ready-made DTF transfers from suppliers. This allows you to test the market without a large upfront cost. Many businesses begin by selling printed garments using pre-made transfers, then gradually invest in their own printer as orders increase.
How to Start a DTF Transfers Business
Turning DTF printing into a profitable venture requires more than just technical skill. Here’s a roadmap based on my own experience:
1. Niche Down
Instead of trying to serve everyone, focus on a specific niche like sports teams, pet lovers, or motivational quotes. This makes marketing easier and helps you create designs that resonate with a targeted audience.
2. Build a Portfolio
Create sample prints on various garment types to showcase the quality and versatility of your work. Use these samples to attract customers on social media and at local events.
3. Set Up an Online Store
Platforms like Etsy, Shopify, or even your own website allow you to reach a global audience. Offer both finished products and custom transfer services. Make sure to include clear photos and detailed product descriptions.
4. Price Your Products Right
Calculate your costs accurately, including materials, labor, and overhead. A common formula is to multiply the supply cost by 3-5 for wholesale and 5-7 for retail. Don’t undervalue your work, but stay competitive.
5. Market with Free and Paid Channels
Use Instagram and TikTok to show before-and-after transformations, as they are perfect for visual content. Run Facebook ads targeting your niche audience. Collaborate with influencers or local businesses to expand your reach.
Common Mistakes to Avoid
Even seasoned printers make errors. Here’s what to watch out for:
- Over-pressing: Too much heat or pressure can cause the adhesive to bleed or the print to crack.
- Inadequate curing: If the adhesive isn’t fully melted, the transfer may not stick properly. Check the manufacturer’s instructions for your powder.
- Ignoring garment care: Remind your customers to wash inside out in cold water and avoid ironing directly on the print. This prolongs the life of the design.
- Not testing: Always test your press settings with each new batch of films or garments. Variations in fabric thickness affect the outcome.
Frequently Asked Questions
How long do DTF transfers last?
With proper application and care, DTF prints can last for 50+ washes without significant fading or cracking. The durability depends on the quality of the materials and the pressing process. Always encourage customers to follow care instructions.
Can DTF transfers be applied to any fabric?
Yes, DTF works on cotton, polyester, blends, and even nylon. However, the print adheres best to fabrics with a smooth surface. For very textured materials like fleece, you may need to adjust the press time and pressure.
What is the difference between hot peel and cold peel DTF transfers?
Hot peel transfers are peeled immediately after pressing, while cold peel requires waiting for the transfer to cool down. Cold peel generally provides a smoother finish and better color retention, but hot peel is faster. Try both to see which suits your workflow.
Do I need a special printer for DTF transfers?
Yes, you need a DTF printer that uses white ink and supports PET film. Many standard inkjet printers can’t handle the thickness of the film or the white ink’s viscosity. Look for models like the Epson F2100 or the DTF Pro 30cm, which are popular among small businesses.
Can I make DTF transfers at home without a printer?
If you don’t own a printer, you can order custom DTF transfers from online services. They will print and cut the transfers for you, and you just apply them with a heat press. This is a great way to start a business with minimal investment.
Final Thoughts
DTF transfers are a game-changer for anyone in the custom apparel space. They offer unbeatable versatility, affordability, and ease of use. Whether you’re printing for fun or profit, mastering this technique opens up endless creative possibilities. As you gain experience, you’ll develop your own tricks and preferences, but the fundamentals remain the same. So grab some films, fire up that heat press, and start experimenting. The results might just surprise you.